Editor
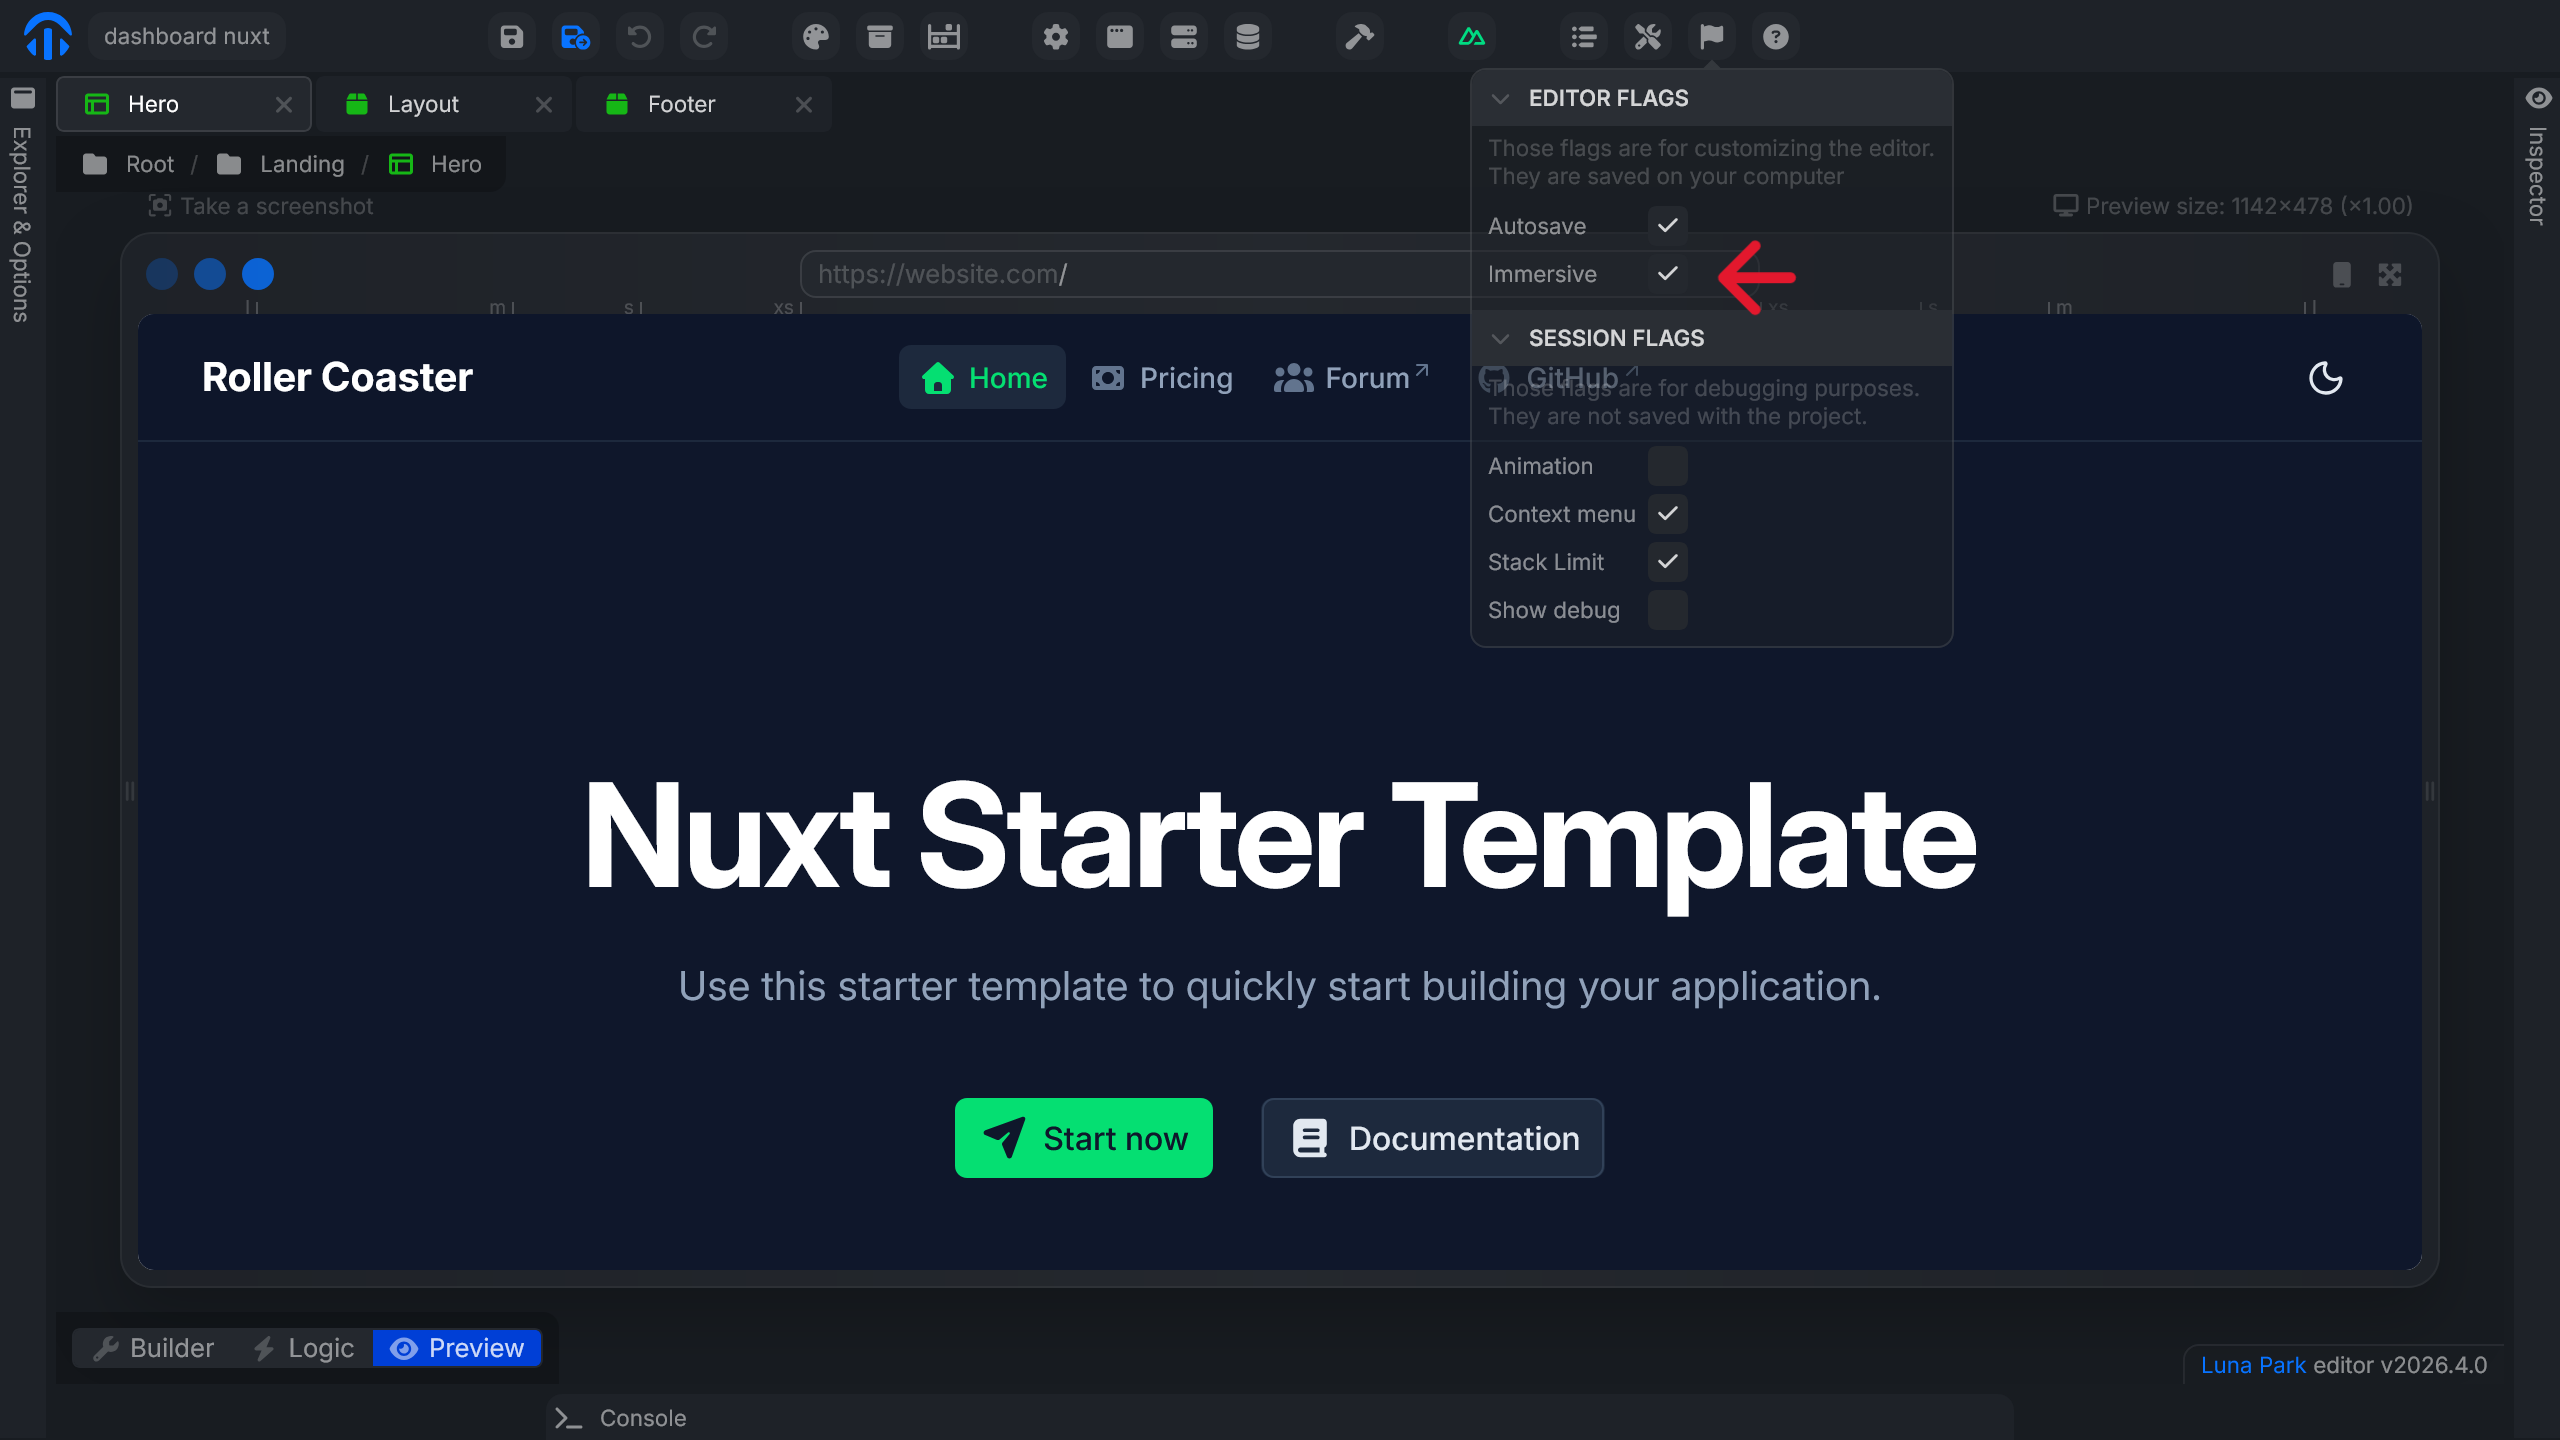
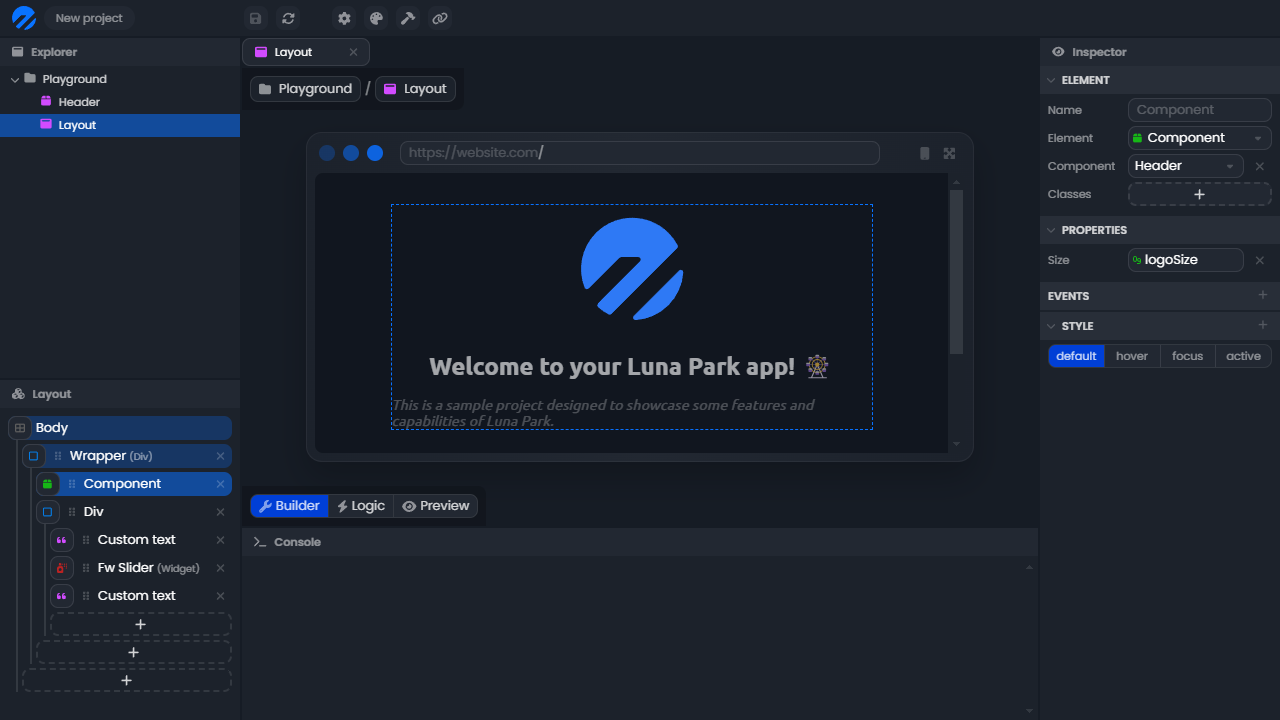
The editor lets you build your application using layouts and visual logic. It consists of several panels that serve different purposes. Every panel can be resized, and its size is remembered.
The Workspace
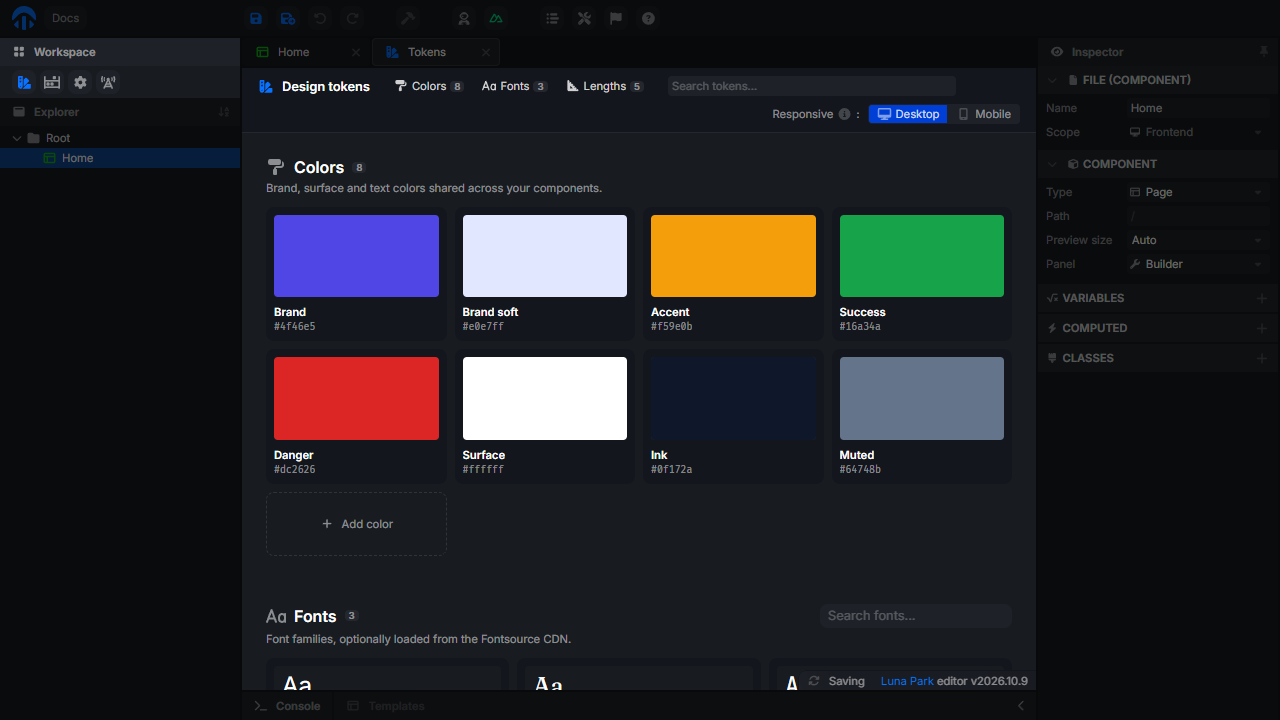
The Workspace buttons, at the top left of the editor, open the views that apply to the whole project. Each view opens as a tab in the main view, next to your files.
| Workspace | Content |
|---|---|
| Tokens | Design tokens (colors, fonts, lengths) and the responsive strategy. |
| Libraries | Built-in node libraries, plugins, and npm packages. |
| Settings | General (app name, history mode), Progressive Web App (see Web App), Backend (proxy, cookie salt), the Cookies set in the editor, and the Stores (reset them, or clear their persisted values). |
| Injection | Code injected in the app: Head, Body, Script, and Style (see Advanced Style). |
Each workspace is split into sections: the toolbar at its top jumps to a section.
The Explorer
The explorer is located at the top left of the editor, below the Workspace. It lists the files of your project. Create a new file with a right-click, open it with a double-click, rename it with F2, and delete it with the Del key. You can create folders to better organize your project, but the structure does not affect the logic of your application.
The sort button switches between sorting by type and by name.
Options Panel
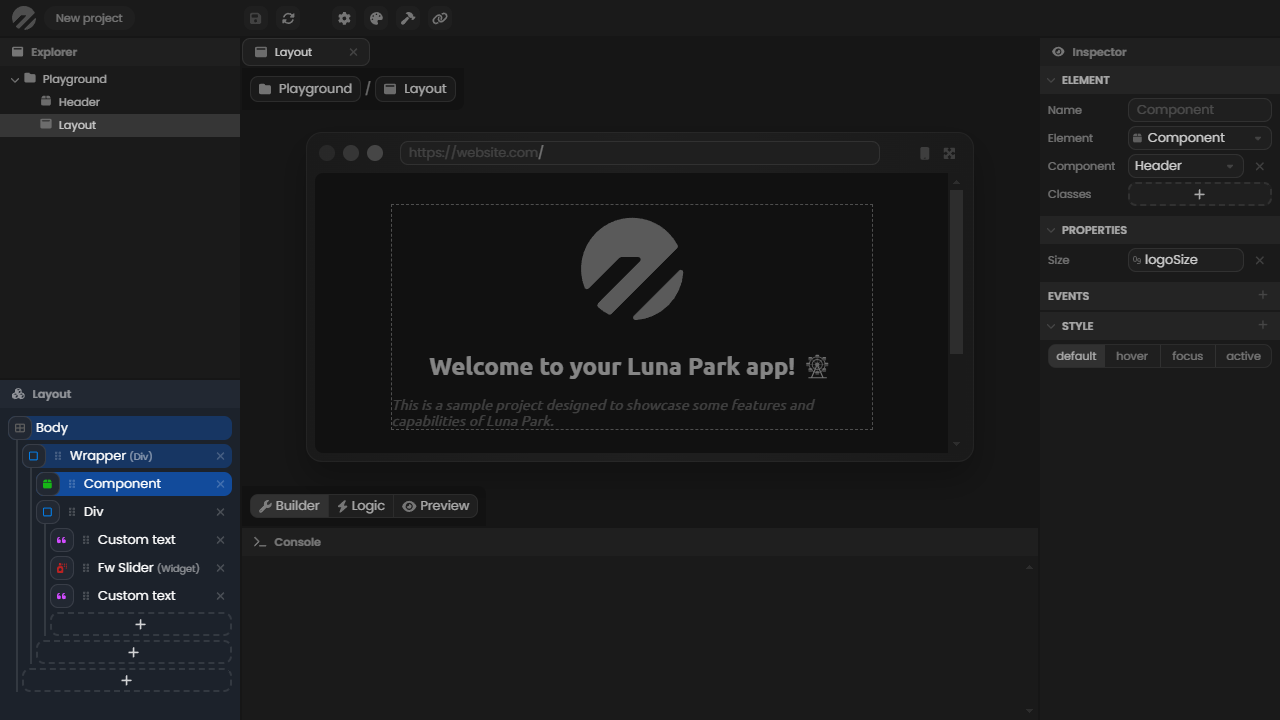
The options panel is located at the bottom left of the editor. Its content depends on the open file:
- for a page or component, it displays the layout tree (use Collapse layout to fold it), see Builder;
- for a script, a route, or a store, it lists its Local Variables and Functions.
Tabs
Each opened file gets a tab above the main view. Right-click a tab to Close it, Close other tabs, or Close all tabs.
The Inspector
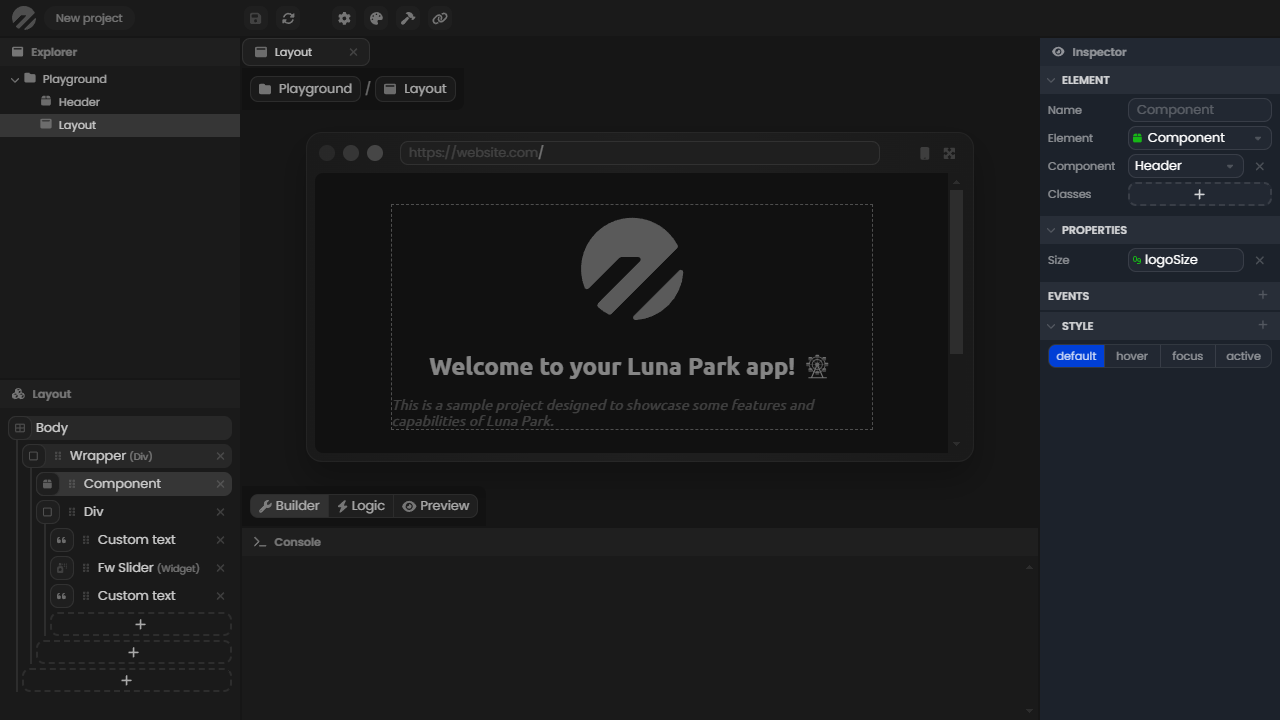
The inspector is located on the right side of the editor. It displays information related to the selected element (a file, a layout element, a logic node, etc.). Use the pin button to keep it on the current element while selecting others.
The Console
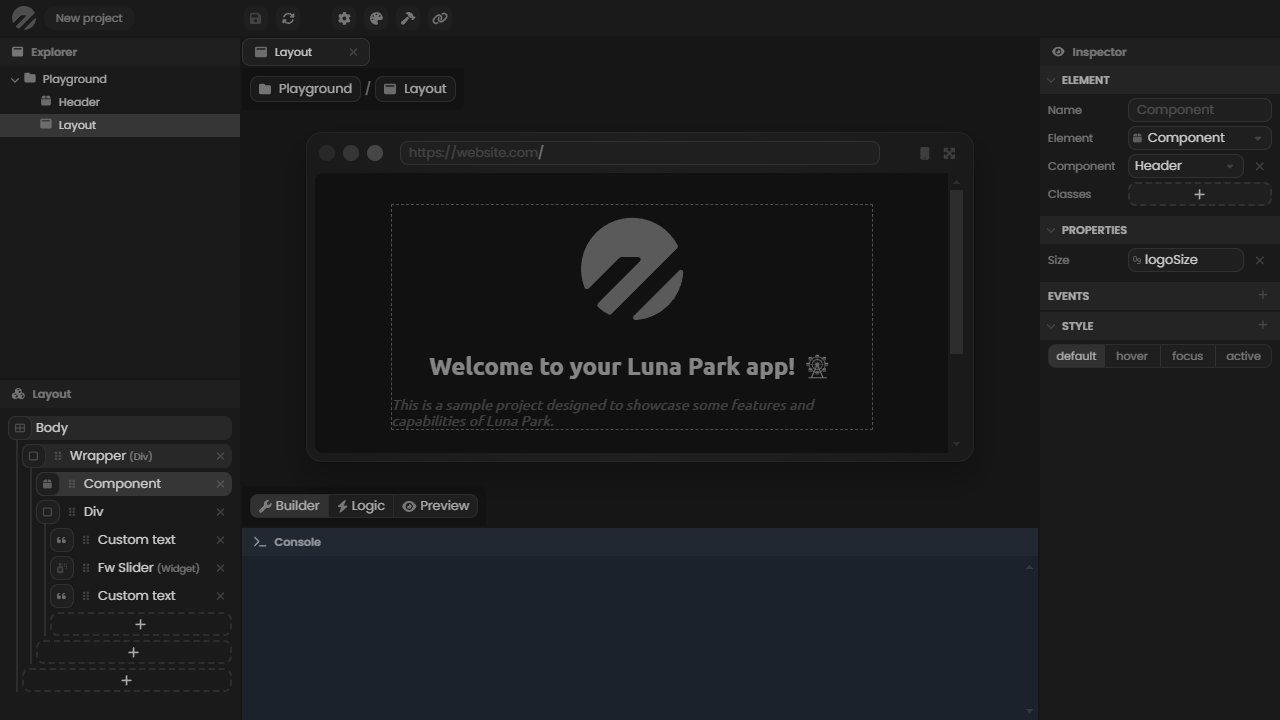
The console is located at the bottom of the editor. It lets you log values to debug your application. To display a value in it, use the Log node in the logic editor. The value is also sent to your browser's console.
The bottom panel has a second tab, Templates, listing ready-made blocks provided by your plugins. Drag one into your layout to use it.
Point your cursor at the panel's border and drag it to resize it, or use the toggle button to hide it.
The Main View
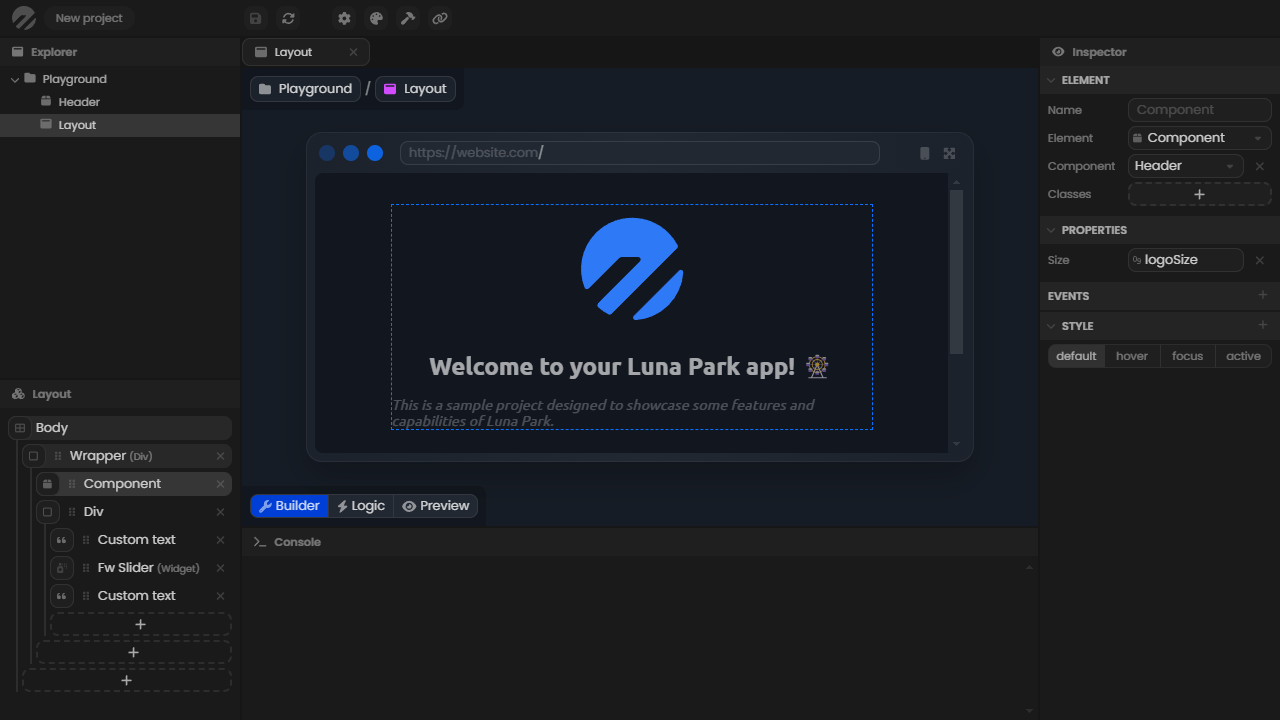
The main view is the central part of the editor. It displays the working file. For a page or component, three modes are available:
| Mode | Description |
|---|---|
| Builder | Edit the layout visually. Side panels give access to Quick style, Properties, Events, Rendering, Classes, Style, Media query, and Hover. See Builder to add elements and Events to react to clicks. |
| Preview | Use the component as in the final app. |
| Logic | Edit the component's visual scripting graph. |
Other options let you Open preview in new window, Block interactions, Lock preview mode, and show or hide the insert mode.
Navigator and Finder
Press Shift twice to open the Navigator:
- press
Ffor the Finder: search any file or element of the project, move with the arrow keys and open withEnter. Shortcut:Ctrl + Shift + F; - press
Sfor Sidekick, the AI assistant. Shortcut:Ctrl + Shift + X.
Esc closes it.
The Top Bar
Project-wide views (tokens, libraries, settings, injection) are in the Workspace.
| Button | Content |
|---|---|
| Save / Auto-save | Save the project, or toggle automatic saving. |
| Undo / Redo | Undo or redo the last change. |
| Sidekick AI | Open or close Sidekick, the AI assistant. |
| Compile | Deploy or export the app (see Compilation). |
| Plugins | One button per installed plugin, with its Config and Settings. |
| History | Local undo snapshots of the current file. They are not saved. |
| Debug | Import/Export: copy the whole project to the clipboard, or paste one. |
| Flags | Editor flags (Autosave, Immersive, Light Mode) and session flags (animation, debug output...). |
| Help | Links to Discord, YouTube, and this documentation. |
The desktop app adds the MCP server and Native app buttons.
Keyboard Shortcuts
| Context | Shortcut | Action |
|---|---|---|
| Everywhere | Ctrl + S | Save |
| Everywhere | Ctrl + Z / Ctrl + Y | Undo / Redo |
| Everywhere | Shift Shift | Navigator |
| Everywhere | Ctrl + Shift + F | Finder |
| Everywhere | Ctrl + Shift + X | Sidekick |
| Explorer, layout tree, variables | Ctrl + X / C / V | Cut / Copy / Paste |
| Explorer, layout tree, variables | F2 | Rename |
| Explorer, layout tree, variables | Del | Delete |
| Builder | Hold Ctrl | Drag elements quickly |
| Logic graph | See The Graph |
Right-click a layout element for more actions: Create before, Create after, Create inside, Wrap in component, Unwrap and delete, Copy Style, and Paste Style.
Immersive Mode
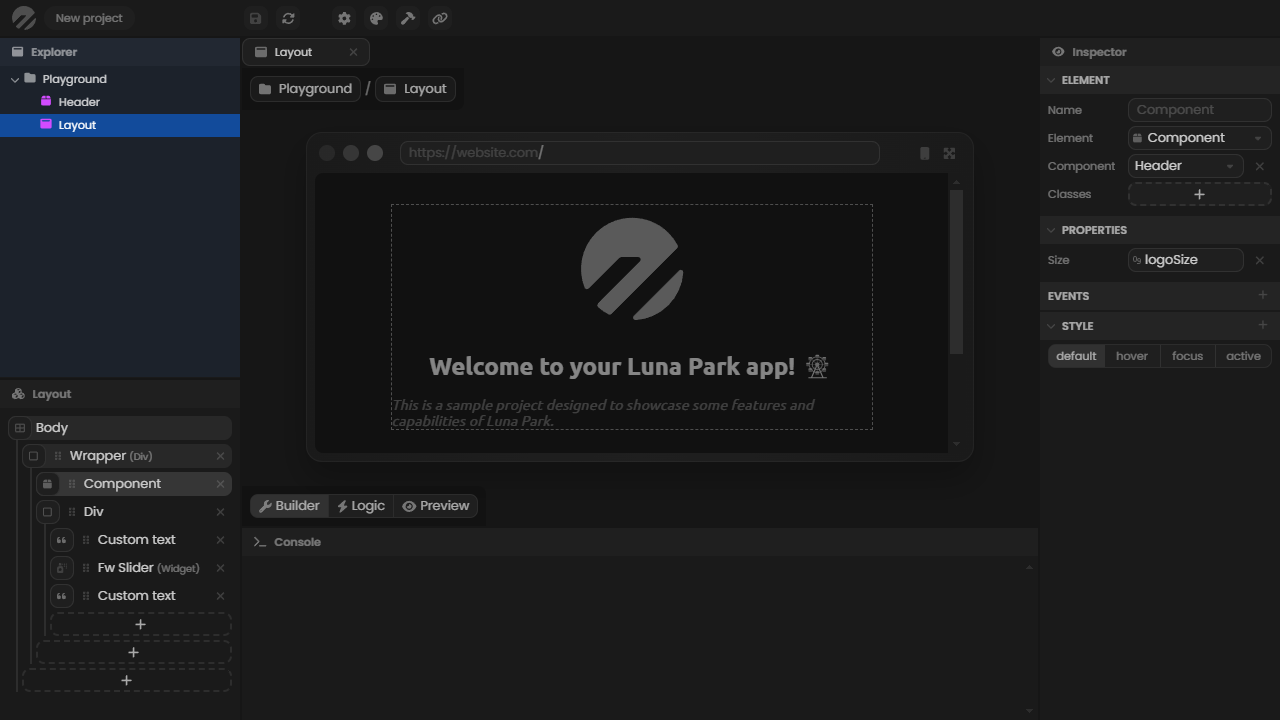
Immersive mode hides the side panels (explorer, inspector, console) to maximize the available space on the canvas. The panels reappear when you need them.
Enable it by checking Immersive in the Flags menu of the top bar.
Once closed, the panels appear as a thin bar with their name on the edges of the screen. Hover over a panel's bar to reopen it.
Immersive mode is ideal when working on complex layouts or when you want an unobstructed view of the canvas.